Putting It Together
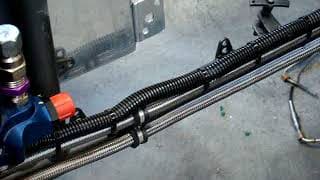
How to assemble the steel braided hose line with AN fittings so when you order your braided hose line from uzbasicmotorsports.com, you’re going to end up with a coil like this. And this much braided hose line just doesn’t look very good underneath the hood of your vehicle, so you’re going to want to customize that length. What you’re going to need to do first, is get all your tools ready.
Jaw Clamps
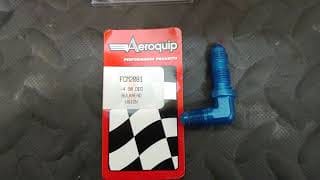
What I have here is some braided hose line, some AN fittings, and I have an adjustable wrench. Now if you’re going to use a bench vise to give you a hand I recommend picking up some of these little jaw clamps.
They help hold the an fittings in place so that way you don’t mar them up, and they don’t rotate on you. You’re going to want some sort of tape, I have just regular duct tape here, and something to cut the line with. I have a specialty tool that cuts the braided hose line, and makes it a nice and neat cut. Either way, if you use one of these or maybe a hacksaw, you want to make sure that you have a nice neat and square cut.
So after you’ve assembled all your tools, first thing that you’re going to do is find the appropriate length of braided hose line for your project. Now I have a length here and what I’ve done is I’ve taken some tape and I’ve wrapped it around right here where I’m going to end up making my cut. The reason why you want to tape up your cut is to prevent the braided hose line from fraying after you’ve cut it.

Braided Hose Cutter
So now I have my specialty cutter and I put my hose right in there and right in the middle of my tape right where I want. I’m going to make my cut, and as you can see here I don’t have any fraying it’s a nice clean cut, nice and square. Remember you want to keep it nice and square to keep a nice and tight joint.
All right so now after I’ve made my cut I’ve removed my duct tape and I can go ahead and disassemble my an fitting and start to slide that over the end here. You just want to wiggle it down, maybe twist it to the point of where the hose is making contact with the little lip in there.
Tighten It Down
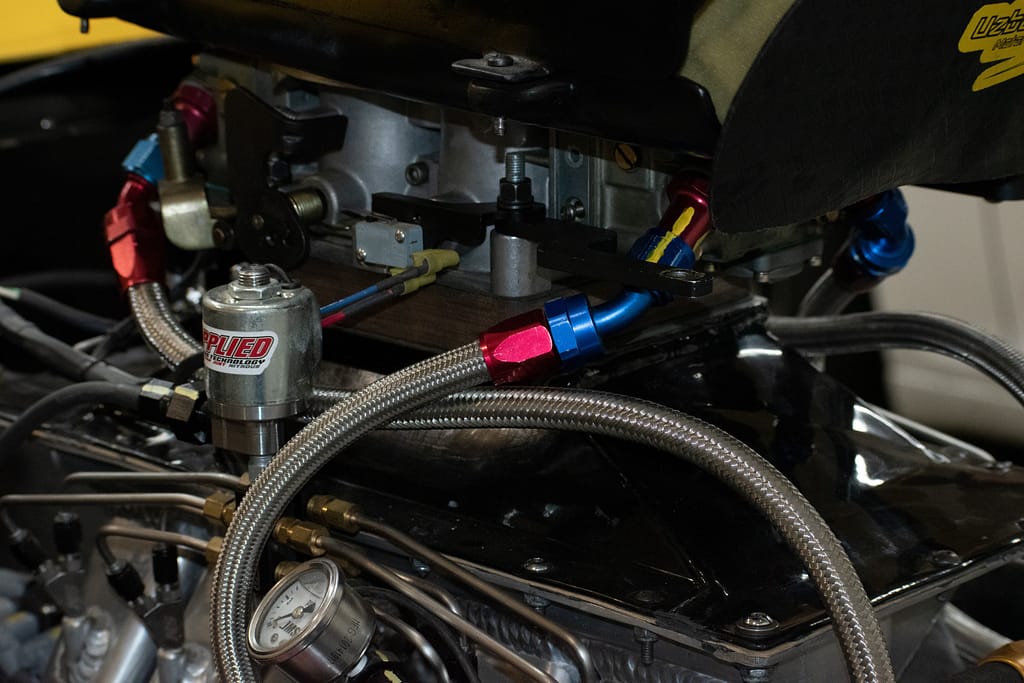
Once you have that all set you can go ahead and put the hose end into your clamp of some sort, tighten it down, and then you can go ahead and start to assemble the coupling. You’re going to want to use a little bit of force, but also twist, and as you’re pushing down the threads here and the coupling are going to engage and it’s going to draw the coupling into your braided hose line.
You do want to make sure, that you are looking at the end here so that way the braided hose line is not pulling out of your AN fitting, because if it doesn’t engage far enough you’re not going to get a very good seal and you may end up with a leak. And after a point you want to grab some sort of wrench , go ahead and complete AN fitting.
So now that you’ve finished assembling your braided hose line I’d love to hear about some of the projects that you have going on. Feel free to leave a comment or a question in the comments section below. Thank you. I have an article I’d like you to check out, AN Fittings and Hoses Done Right. This is one you might find interesting, Parts and Installation. Also, this video was inspired by Summit Racing Quick Flicks.