Hello,
and welcome back to step number three in the installation of our air launcher
in our Pro Mod. Now for the last step we’re going to talk about inside the
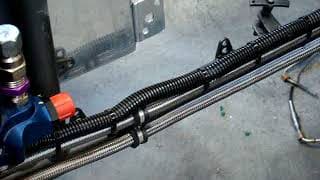
compartment as far as doing the final hookup for the air. Right, there’s our
air bottle. And we have a line that runs up, that would run all the way to our
activator, right there for the chutes. But this is a three eighths inch line.
And I’ve got a quarter inch line here. So what I ended up having to do is I got
a T at the local store with a slip in for a quarter inch, so I have a quarter
inch, and a three eighths inch. And simply what I did is installed these
pieces.

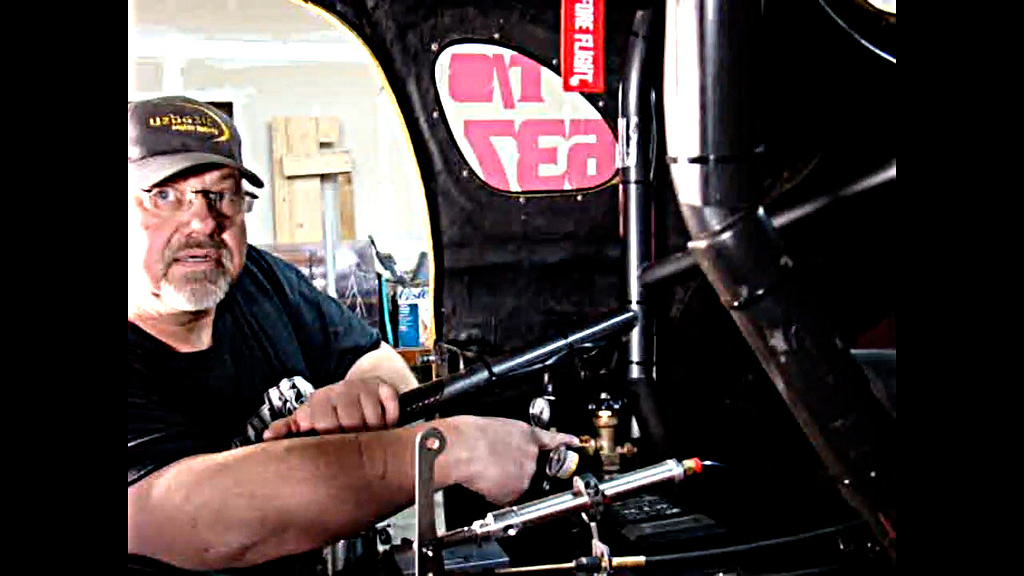
So what I actually do now is I have the air flowing still to the
activator that will activate this handle forward to release the chutes. But it
also provides air pressure to the two cylinders, that we just installed in the
back of the car. So what is going to happen is in a normal circumstance, when
you’re going along and you’re at your end of your run, you’ll push the button
on the steering wheel. And when you push the button on the steering wheel, this
will move forward releasing the chute cables. The air pressure that’s in this
line will then jettison out the actual pistons and push both of the chutes out
into the air

.
Remember, you want to target for at least a 30-degree angle. So
you should get the chutes out to blossom as soon as possible. So that pretty
much is the installation. Really, you know, it may look daunting, but it’s
really a simple, simple installation, hey, I look at it this way, if I can do
it, you can do it without any problem whatsoever. Just, you have to have all
the right parts, the tools, map out how you want to do it, and what the
application is going to look like before you start and have everything
prepared. 
And then once you get going, you’ll find out that it’ll just go like ABC. Of
course Stronach, put some great instructions in with the kit. So please take
the time to go over the instructions first, unless you’re a man, and you go, “I
don’t need no stinking instructions.” But hey, it would be a cool thing for you
to look at it and take a look to be sure that you’re prepared for what’s going
to be coming up on during the installation. So you don’t get upset and mad,
right throw it all out into the garbage can.
So listen. I hope you all enjoyed
this. I hope it was educational. Most of all, I hope it was entertaining as all
hell. So thank you very much. Please check us out. All this information will be
on our blog at uzbasicmotorsports.com. And take a look at our site. There’s a
ton of parts, parts for all race applications. If you’re circle track, if
you’re open wheel, if your drag, if you’re off road, we have a complete line of
truck stuff, Hot Rod, classic car, street car, modern muscle, we’ve got it
covered for all the motor heads out there in the world. So thank you very much.
We appreciate your time. Looking forward to talking to you again and seeing you
and please keep liking us. Follow us. Check us out. We’re on all the social
platforms. Thanks, big thumbs up everybody and thanks everybody for your
support for Uzbasic Motorsports Performance Parts at uzbasicmotorsports.com.
Go here to watch this video on Parachute Installation Part 3